The difference between a quote in two hours and a quote in two days is almost never the printing — it is whether the files arrived complete. Here is exactly what we need, why we need it, and what happens when a piece is missing.
1. The artwork file itself
Best: vector files — .ai, .pdf (saved editable, not flattened), .eps or .svg. Vector artwork can be scaled to any size without losing sharpness, and it is what every plate, die and screen is cut from.
Acceptable: a raster file at 300 dpi or higher at the final print size. A logo pulled off a website is usually 72 dpi and about 400 pixels wide — that is enough to look fine on a screen and not enough to print.
Convert fonts to outlines before sending. If you do not, and we do not have your font installed, the text will silently reflow into a different typeface and you will not discover it until the cartons arrive.
2. Exact size and shape
Give us the finished dimensions in millimetres, not “like the last one”. If the piece is a non-rectangular shape, send the dieline as a separate vector outline on its own layer. Shaped work is priced and nested entirely from that outline, so an accurate dieline is the single fastest way to speed up a quote for anything die-cut.
3. Colour, specified unambiguously
“Gold” is not a colour — it spans everything from warm yellow to pale champagne. Tell us the foil colour or give us a Pantone reference. If you need a specific printed colour to match other packaging, give the coated or uncoated Pantone number; the same ink reads differently on shiny and matte stock.
Foil too: “silver” ranges from mirror chrome to soft grey. If you have seen the finish you want, photograph it in daylight and send that alongside the file.
4. Bleed and safe margin
Extend any background colour or image at least 3 mm past the trim line, and keep text and logos at least 3 mm inside it. Cutting is accurate but not perfect to the millimetre; without bleed you will occasionally see a hairline of white along an edge, and without a safe margin a letter will occasionally get clipped.
5. Paper stock
If you know the weight and finish, tell us. If you do not, tell us instead how the piece will be handled — worn all day, posted, folded, sitting under a wet glass. That is enough for us to recommend a stock. Our paper weight guide gives you the numbers if you want to decide yourself.
6. What is happening on the reverse side
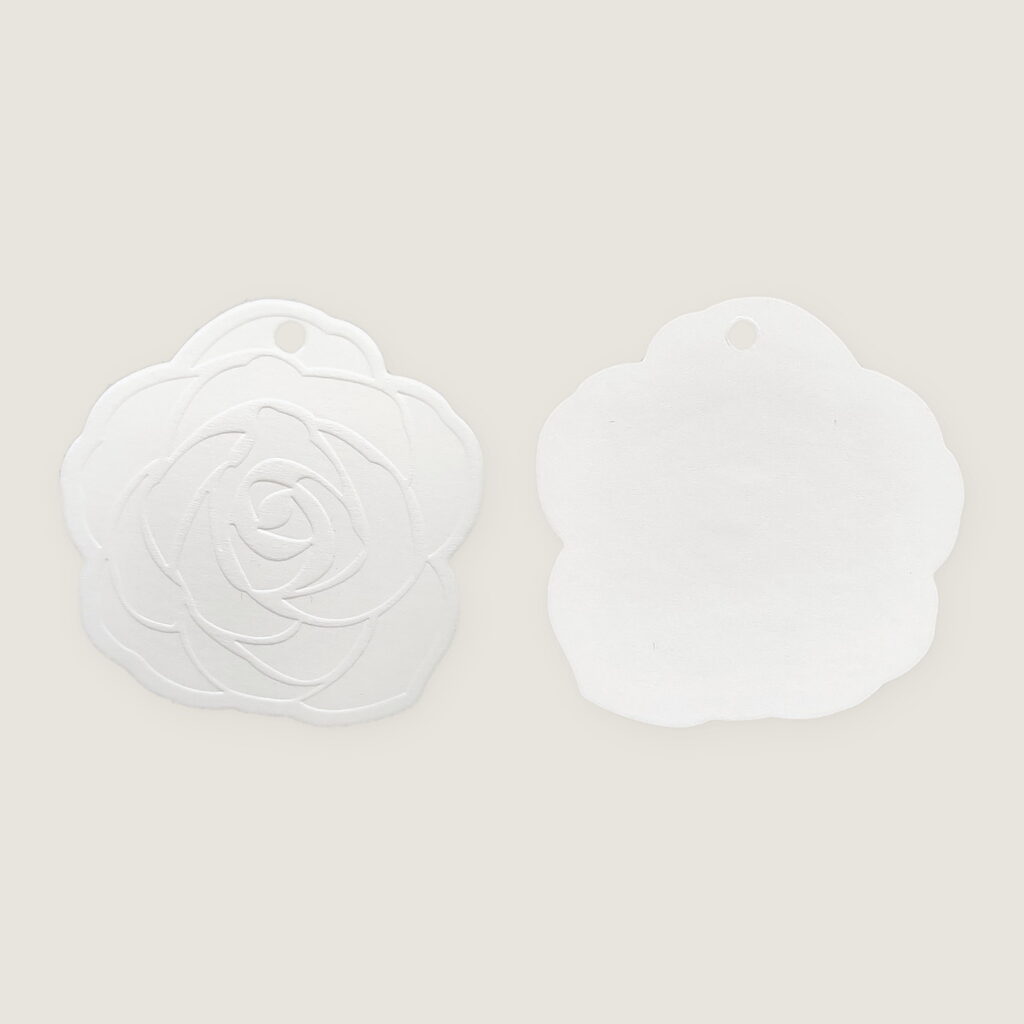
This is the one people forget most often. A deep deboss leaves a matching bump on the back, so if you want care instructions or a barcode printed there, the layout has to be planned around it. Say explicitly what the reverse should be — blank, printed, or finished differently — rather than leaving us to assume.
7. Finishing details
Small hardware decisions are easy to overlook and expensive to fix later: does the tag need a punched hole, and what diameter? Reinforced eyelet or plain? Does a badge need a safety pin, a butterfly clutch or a magnet? Is the string supplied? If the piece will be packed in a specific way, tell us how many go per pack.
8. Quantity and the date you actually need it
Give both. Quantity lets us price accurately; the real deadline lets us tell you honestly whether a finish is achievable rather than letting you discover it a week later. If you are testing a new design, ask for prices at two or three quantity tiers — see how minimum order quantities are actually calculated for why that changes the unit price so much.
The one-line checklist
✅ Vector artwork, fonts outlined
✅ Finished size in mm + dieline if shaped
✅ Foil / ink colour or Pantone number
✅ 3 mm bleed, 3 mm inside the trim
✅ Stock weight, or how the piece gets handled
✅ What happens on the back
✅ Holes, strings, pins, packing
✅ Quantity + real deadline
Send it over
Eight items, one email, and you get a price back within 24 hours — factory direct, low MOQ, no middleman. Request a quote, or browse the product range first if you are still deciding what to make.